So what’s the secret? Lighting is everything.
There are a few simple techniques and cheap tools, (some you may already have lying around), that you can use to enhance the quality of your videos. I enlisted the help of my coworkers, Jen Layton, our Social Media Manager, and Kierstin Geary, our Content Specialist, to show you side-by-side examples of these techniques in action.
Avoid Harsh Lighting
Harsh lighting is bright, directional light that creates strong shadows. You’ll get this type of light from bright sunny days, especially in the middle of the day. You can also get it from being close to an unobstructed window or a bright light fixture. This light is particularly unflattering.
But there are some simple ways to avoid or counteract harsh light. In the event that you have to shoot outdoors on a bright sunny day, try to seek out shade. Place your subject in the shade and expose your shot for them rather than the bright background.

In the example above, all I did in the second photo was have Kierstin and Jen take a few steps back so they were standing in the shade of the trees. Look at the difference!
Bounce Light to Fill in Shadows
If you don’t have any shade or are shooting indoors near a bright light source another option is to bounce light on your subject to fill in some of those harsh shadows.
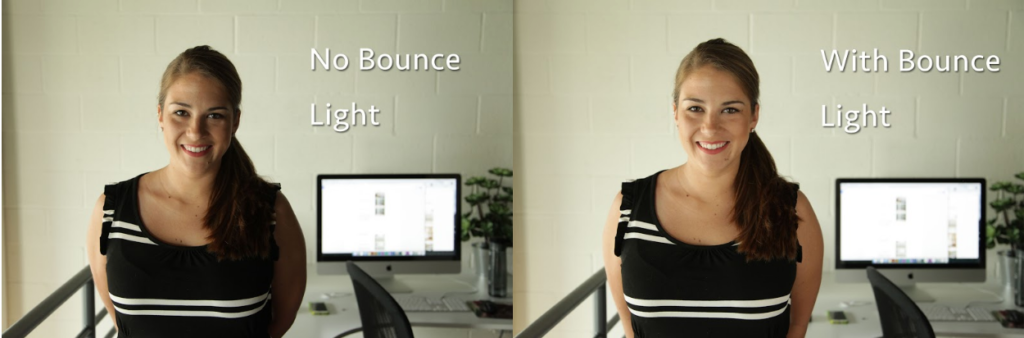
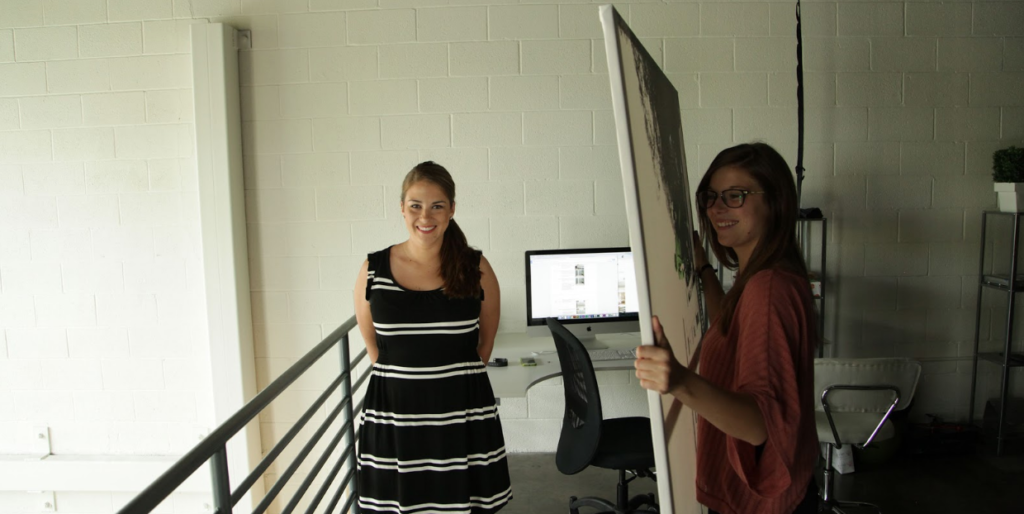
In this example, there was a large window on the left side of our shot. It provided a nice light on one side of Jen, but the other side fell off into darkness. I grabbed a large white canvas off of the wall and Kierstin held it just off camera. By bouncing extra light we filled in the dark shadows with a very flattering, soft light.
You don’t have to go out and buy an expensive reflector, but there are some nice affordable options out there; a simple white foam core board you can find at Walmart is all you need. Practice moving the reflector at different angles to find the position that bounces the most amount of light.
Diffuse Your Light
In addition to these options you can also diffuse your light. Diffusion is used to soften the light that’s hitting your subject. If you are filming near a window you could draw the curtains or close the blinds if they still let light pass through. If you are using a lamp or another artificial light source you could putting a sheet of wax paper in front of it.
When I was starting out I put some wax paper in front of some super cheap construction lights from Home Depot to add a little soft light to my scenes.
You can clip the wax paper to the light shade with some standard clothespins or use tape as long as the light doesn’t get too hot.
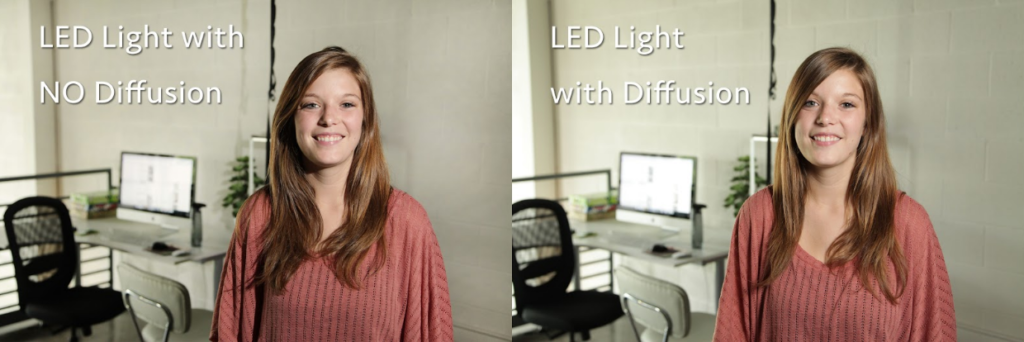
As you can see, the light without diffusion is creating strong shadows on Kierstin’s face as well as a bright shiny look on her skin. When the diffusion is added the shadows are softened and it creates even skin tones that are much more flattering.
Don’t Mix Light
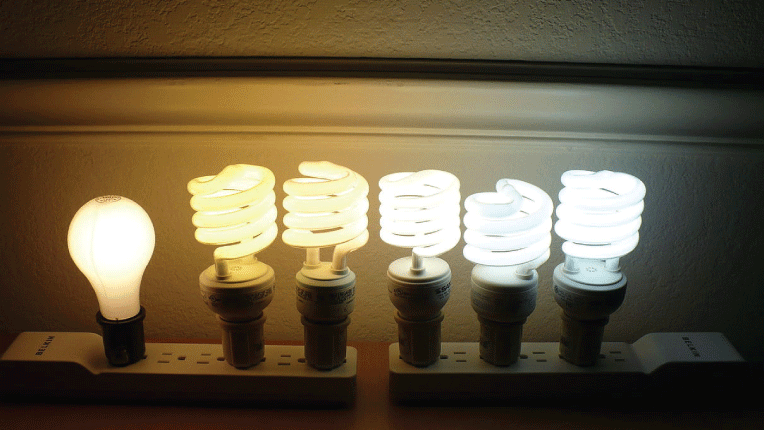
Finally, if you do use additional lights, you want to make sure not to mix different light sources with different color temperatures. Light actually comes in many different colors. The light that the sun gives off is more blue compared to your average old fashioned light-bulb which burns more orange. When creating your video, you want to be careful not to mix light from a window with a lamp in the scene.
If you need to use everyday light fixtures in addition to sunlight in your scene you can find daylight color light bulbs in most stores. You can also find cheap LED lights that can switch between daylight and incandescent online.
Experiment
As with most things, lighting is a skill that must be practiced and there is no one-size-fits-all approach. So take these different techniques and go have fun. Try adding some lights to your usual setup, try bouncing some light, or a combination of all of them.
We will continue to expand this series on other basic video and photography principles and techniques. So subscribe to our blog and check out some of our video work here at Walk West (formerly Greenroom Communications).